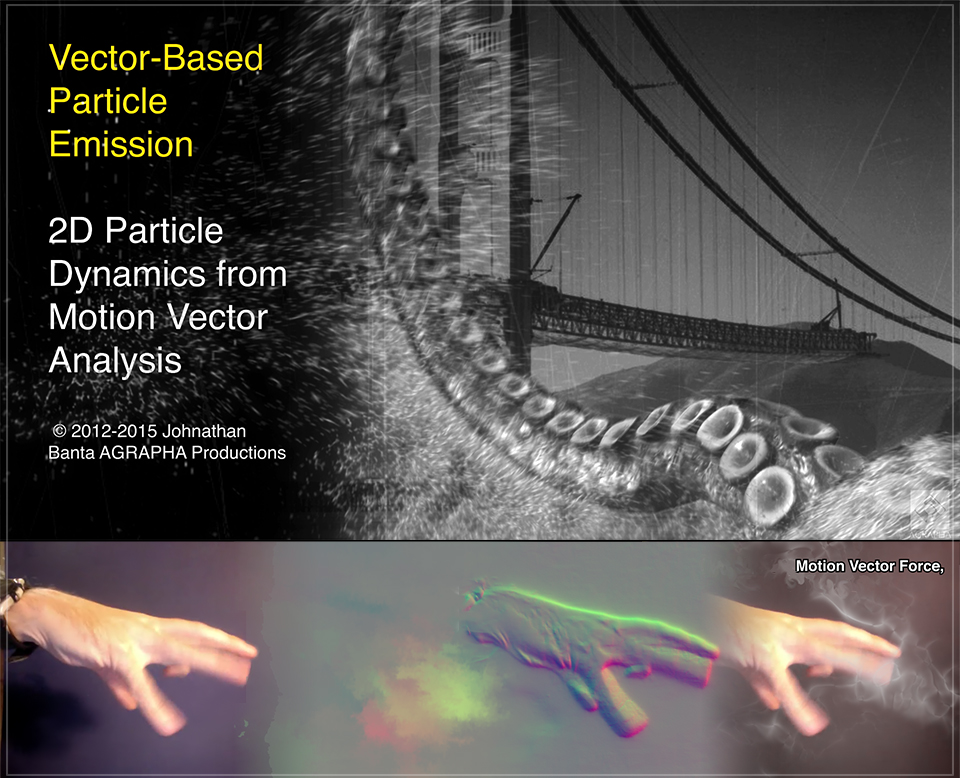
Using Motion Vectors as Fluid Forces
I was stuck. The particular scene In front of me required that a character from existing footage be combined with tentacles of my own making, repositioned to come out of water at the edge of screen, combined with a sky matte painting, and fling water off of its body at every flick or tiny movement. Time was as usual, short, and running out.
Since I was not planning on flailing around in the pool, and rotoscoping tons of water I needed particle systems to do this. I am fairly adept with 3D particles, but a particle system must have an emitter, which in this case was the skin of my character — usually 3D animated to match the footage. I did not have the original model. If I did have it, it would take time to rig and animate, and match correctly enough to create particles. After the animation I would likely calculate a fluid field to advect the particles through, to give it some sense of fluid motion. After all, this worked for me on the television series FRINGE, for a tentacled creature swimming in a tank, so I was reasonably assured that this would work.
Did I mention the time?
Nevertheless forging ahead, I animated some tentacles as individual parts, handed them to a compositor, and let them do their magic combining all the pieces for the final motion, while I mused about particles.
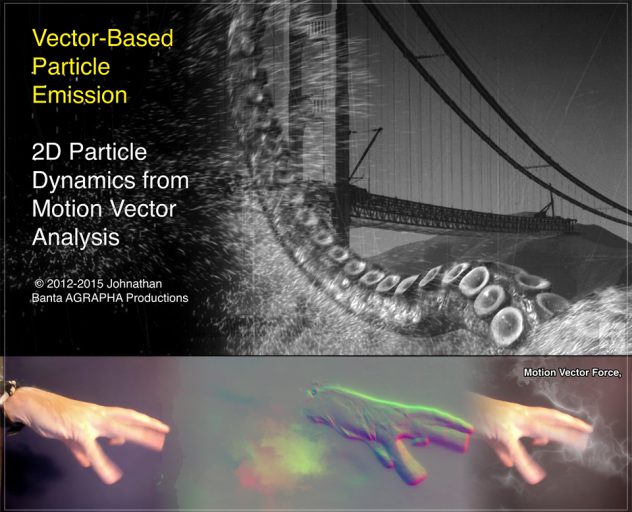
In 2004, for the special venue ride Haunted Lighthouse, for Seaworld parks, I used a frame differencing method to extract all the moving pixels in a given frame to emit particles from the flailing arms of Christopher Lloyd. Using this method, I was able to isolate the largest movements and their intensity. This motion matte was used in Adobe After Effects with their primitive particle system Pixel Playground, to emit ghostly plasma blown by wind. Fractal noise was applied as an “ephemeral” property to introduce turbulence to the particle position — it is an unusual particle package which requires most particle properties be defined by textures, or global vector directions, and is occasionally limited to what texture map can be used for which property. It is simple and archaic, by many definitions, but was sufficient for the current purpose, as all the particles flowed a single direction.
Unfortunately for the current project, the motion of each piece of the creature was unique, and varied often along the surface. Any water flung by the creature would fly at the velocity of the surface point, and cascade down. This motion would alter dynamically under gravity (the only simple vector force I actually could use) and the motion would radically change as each particle bounced off of that surface. To describe this as complex, is truly an understatement.
I needed a way to quickly recreate complex motion for particle systems, approximate fluid advection(hopefully), repulse or attract existing particles, all while preserving the dimensional “feel” of the animation. That should be simple…right?
Hmm … Motion vectors.
I started considering the “bag of tricks” that VFX uses these days. I needed to know about the motion of the surface, so the logical thought was to explore the use of motion vectors.
What is a motion vector? It is basically the direction and magnitude of velocity of an object in motion. It is essential in computer graphics to create motion blur. 3D render engines can generate the information as a 2D vector image for adding motion blur in post-rendered compositing, but that still requires a model. It is also possible to create these maps from software that analyze pixel motion in a frame. I reasoned that if I knew the vector of motion, it might be possible to use that 2D information to modify particles as they flung off the creature, and provide some semblance of realistic motion. Luckily, it is possible to acquire Motion vectors from 2D sources using off-the-shelf image analysis software from reVisionFX (or the Foundry, but I was working in a software they do not support). Their Twixtor time-warping package includes a Create Motion Vectors plug-in, which calculates and renders a motion vector image.
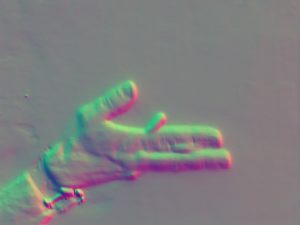
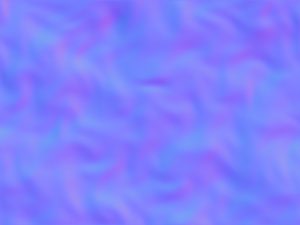
A brief description of motion vector images is in order: A calculated motion vector is stored in an normalized RGB image, with the red channel representing sideways motion, and green vertical, with the z-depth vector occasionally placed in the blue channel (though this is rare). The vector image ranges from 0 to the largest number the specific color space allows. Too many options in color space, so let’s consider the highest value to be 1. A value of 1 in the red channel moves to the right, and a value of zero to the left. This is repeated for each color channel, with neutral gray representing the point of no motion. Each value is actually in a mathematical SIN domain, but is compressed to fit into the 0-1 range. By combining the various directions derived from the scene on both axis, a colorful texture map represents the amount of change from the previous image to the current frame, or at times the vector to the next image. The resulting image is also referred to as the motion vector map.
Using my iSight camera on the laptop, and a quickly grabbed blue foam-core backdrop, I recorded my hand performing some complex tricks, and analyzed the image to produce motion vectors. I had to adjust how far the software was looking to compare pixels (about 10 pixels), and the resolution of the vector analysis, but overall it was a fairly straightforward process.
This Way And That Way.
With vector map and motion mattes in hand it was time to affect the particle stream. Particles emit from the motion matte are modified by the values in the motion vector. The 0 to 1 values are applied by multiplying their value by 2 and subtracting 1 — bringing the values into a range of -1 to 1. The emission vector of the particle is multiplied by the resulting number, modified by a single gravity vector, and the illusion of particles of water dripping off of CGI and existing footage is complete! (No one mentioned there would be math in this post, but that ship has now sailed).
The EUREKA moment had arrived. With this modification of a simple particle system, I could create the illusion of water by my deadline. The particle system rendered horribly slow (that is a hint Adobe), but it was still faster than doing it all by hand-animating a 3D model and figuring all those issues out as well. Obviously enamored by the results, I contacted Trapcode creator Peder Norby — who quickly added the ability to emit vector modified particles to his After Effects 3D particle system named Particular. Now I could emit particles quickly, and meet my deadline.
Soon after, Peder was posting teasers of the new technique , and tutorials followed-on with his modified software in motion. His tutorial provides a very good explanation of the process. I am grateful for his willingness to modify his software to meet my production needs.
(the comments on the first post just make your day when you do this kind of research)
https://vimeo.com/52099566
Use the Force
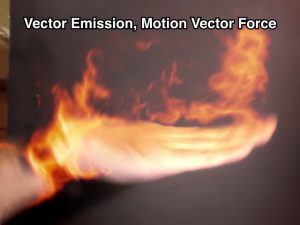
It was time to start pushing the technique around a bit. By reducing the velocity of the particles, increasing drag, and inverting gravity I produced smoke. That quickly got turned into a fire emission. Reverse the vectors, and you have rockets that propel the hand forward. So many possibilities! I delved into further research using the Particle Playground plug-in within After Effects. What was previously a limitation with the plug-in, to define all particle properties with a texture map or footage, was now a simple way to experiment with other uses of the vector map — despite how horribly slow the plug-in is (that is another hint, Adobe).
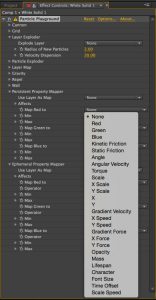
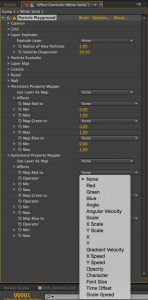
This After Effects plug-in has some features that are unique to it: persistent and ephemeral properties (I think constant and dynamic would be a better name for these settings, but I did not program the code). From what I can devolve from using it, Persistent/constant properties are those that always follow the particle, like mass, whereas the ephemeral/dynamic properties are allowed to change. Apply the vector map to constant parameters, and you get velocity-based emission. Apply them to dynamic properties, and you modify the particle after it’s initial state. However the property of FORCE, only available as a persistent property, is a bit confusing. Archaic, yes, but easily at hand without programming a particle system from scratch.
When applied to the particles dynamically, the motion vector makes particles act as if they are being pushed by the compression of the air around the movement — similar to advecting particles in a fluid container from a 3D program. With nothing more than the motion matte of the moving object, and it’s derived motion vector, it is possible to fling particles into the air, and have them pushed around by the density of that motion through the “air.” The results look surprisingly dimensional.
Bouncing Off The Walls
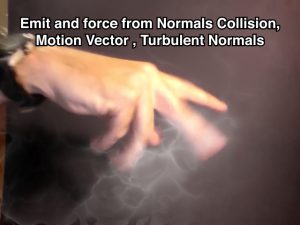
With particles dancing around the scene, it begs the question of what other color inputs could apply? Since the video of my hand was roughly keyed out of its background, I used another plug-in from reVision, called ShadeShape ( a plug-in that gets little attention, despite so many amazing things I use it for) to generate a normal map of the inflated alpha channel. The technique is basically a “ballooning” of the hand based on its silhouette, to generate a 3D surface. Normally this is done to introduce some sense of shading to a flat image, but in this case, all I needed from it was the colorful normals.
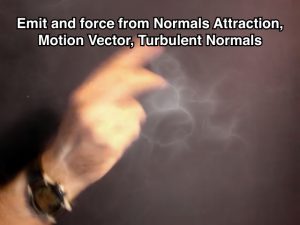
When I applied the normal map as vector inputs, all additional forces pushed away from the hand, and if I inverted them, the additional forces draw particles toward the hand. Essentially a primitive collision of the surface, or an attractor. This also allowed some fairly fantastic motion from a particle system disturbed by my hand.
I then experimented with creating turbulent forces from simple evolving turbulent noise, and ShadeShape normals. By adding this into the other vector types, extremely complex, realistic motion was easily created from simple inputs.
Particles In-Depth
The technique demonstrated above is limited to 2D particle systems by its very nature, and does not easily lend itself to full 3D particle systems without some extra work. Trapcode Particular uses the blue channel of a motion vector image as an emission force along the planar normal, so as to eject the particles into 3D space. This is not exactly a true motion particle thrown into a 3D world, but does take advantage of the motion vector systems.
Future development with actual software code could extend these two-dimensional forces into 3D through simple extrusion along the camera viewing frustum. To the camera they would match the movement on the image plane, but would actually occupy a truncated volume in the 3D world. With this development it will be possible to affect particles in a true three-dimensional space, that can also bounce off of other 3D objects in the scene.
Conclusions
To solve production problems, this research introduces a simple method to affect visually plausible particle systems with little calculation overhead. It is a practical approach for adding particle systems to complex imagery. Since it is based on post-analysis in two dimensions, the forces calculate quickly, and have many real-time possibilities.
Motion vectors and other image analysis processes are an effective way to drive particle motion that has the appearance of a three dimensional particle system, and induce a fluid dynamics feel to the motion cheaply. The method works with computer generated imagery or photography. It is proven in production, and achievable with off-the-shelf technology, as well as any custom software yet to be created.
For your entertainment, and a little extra information, here is my initial submission to SIGGRAPH of the technique, for their annual conference. It was not included in their approved sketches.
AG

